E-Commerce Installer E-Commerce Installer
The installation is for a standalone EMS licence only.
The e-commerce installer is also for Q4 subscriptions. Subscriptions are managed by 2Checkout (now Verifone) and if there are any payment or subscription issues contact 2Checkout (now Verifone) support.
The installer only installs Q4.
The installer will also install Medialooks Multiformat for video playback and from 4.43 onwards; Dot Net 4.8 (if not previously installed).
The installer will install the E-Activator, if not already installed, for cloud licencing (EMS) management.
The commercial installation file is called Wincaps_x.xx.x_Q4_Setup.exe. Up to 4.42.6 the installation file was called Wincaps Q4 Setup.exe.
The user running the installation must have full administrator rights on the local machine.
Install the new client using the exe installer.
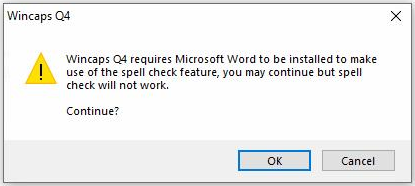
If Microsoft Word is not installed on the PC a message will appear before the main installation process:
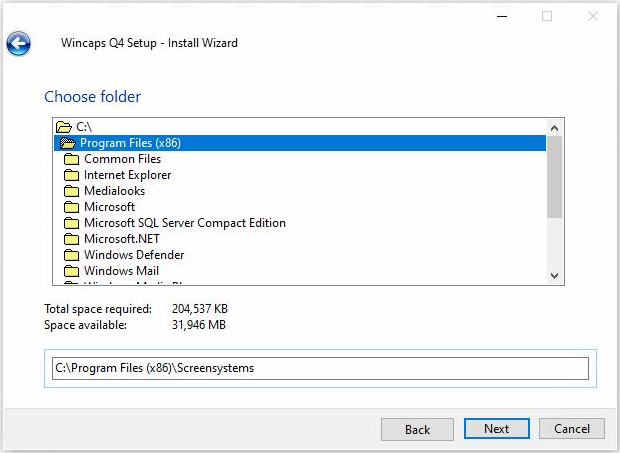
Follow the on screen instructions to move to the folder location dialog.
Configures the location on the PC/Server for the Wincaps components. Defaults to C:\Program Files (x86)\Screensystems
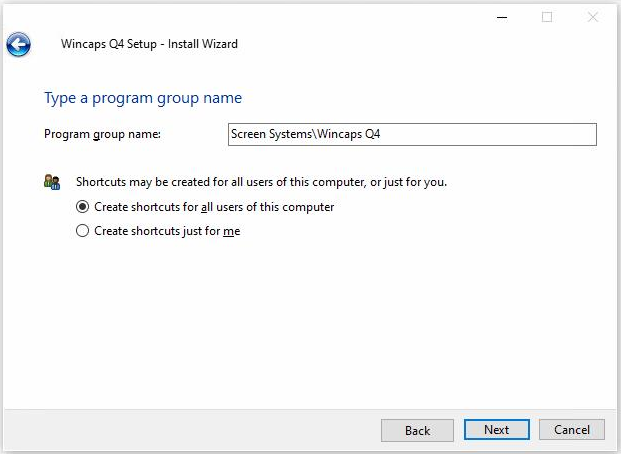
The Program Group can be configured here and defaults to Wincaps Q4. The shortcut configuration options can be set up here.
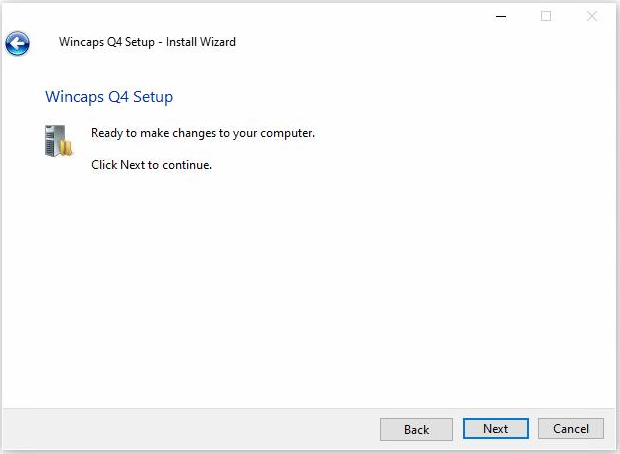
This is the final check before installation begins. If there are any changes that may not have been made, this is the last chance to go Back and make the changes. Pressing Next on the below dialog starts the installation process.
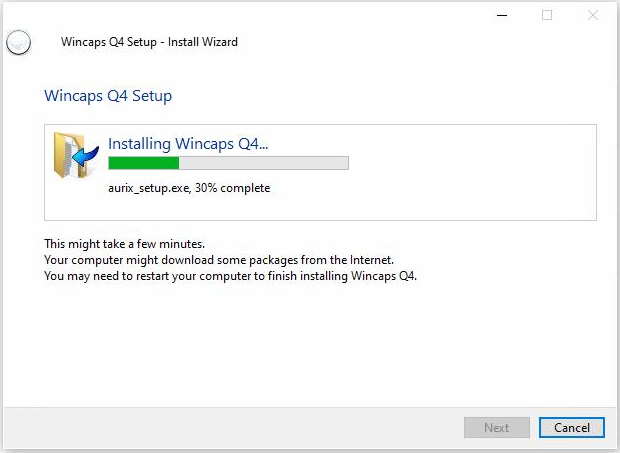
Wincaps installation progress bar will display below. Any packages, such as DotNet versions and Medialooks Multiformat will be installed as part of the installation.
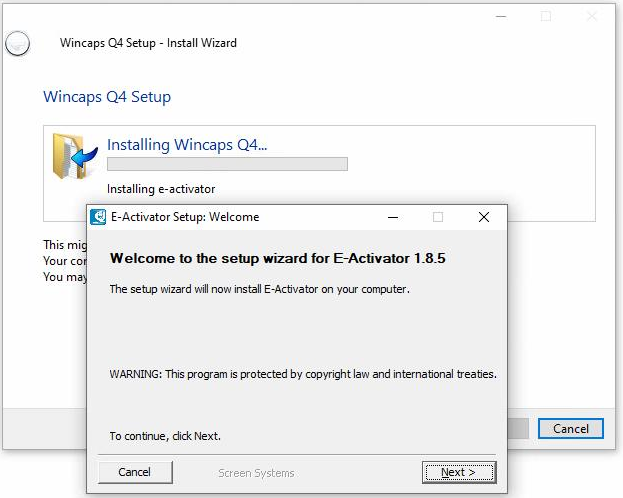
The E-Activator manages the cloud licencing for Wincaps.
If this is the first time the installation has been done, then the E-Activator will be installed.
The installation of the E-Activator is not automatic. Press Next >
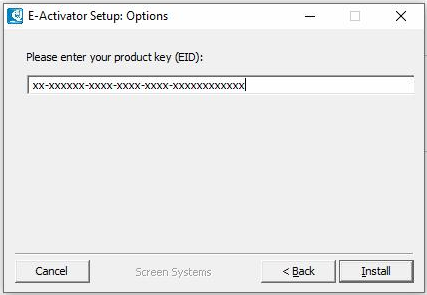
The E-Activator will prompt for the EID code which will have been sent from BroadStream Support or from the email confirmation for the subscription.
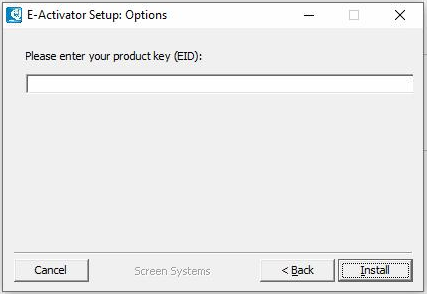
Paste or type out the EID code that was sent by BroadStream Support with the subscription and press Install.
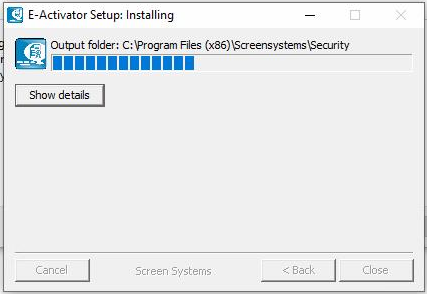
The installation of the E-Activator will begin and will also install and activate the EID licence code. This will require an internet connection.
When the installation is complete, press Close:
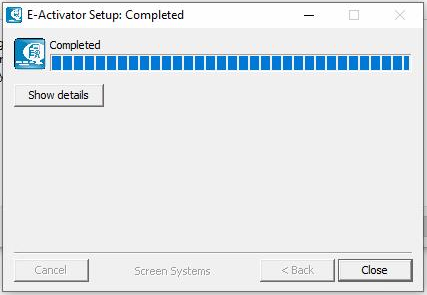
Wincaps installation will continue.
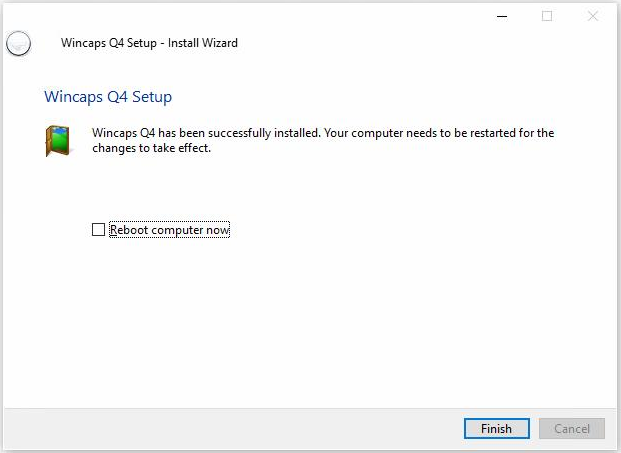
When the installation is complete the below dialog appears. If required, and for any Q-Live Service installations we would recommend this being done, the PC/Server can be rebooted by ticking/enabling the 'Reboot computer now' option followed by Finish.