 General options and settings
In this article:
Overview
The following general settings may be customised:
-
Raising preferences
-
Printing preference
-
Speech engine preferences
-
PC Clock
To view or change the general preferences, click the appropriate button in the Toolbox->Configure tab.

Configure raising
Click on the ![]() button to set the default raise and drop positions for raised subtitles. The following dialog is displayed.
button to set the default raise and drop positions for raised subtitles. The following dialog is displayed.
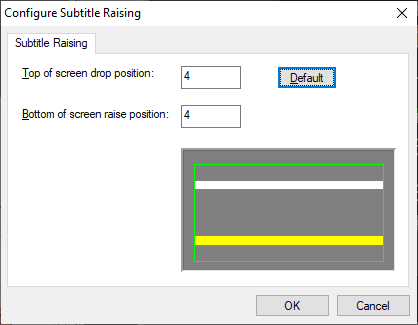
Enter the desired raise and drop positions and click on OK to save. The numbers are calculated as Teletext rows. In other words, the screen is divided vertically into 23 (single-height) rows and hence a bottom raise value of four would raise the subtitle by 4 single height rows (or two double-height rows).
Raising works for both Teletext and Open Caption personality subtitles. In the case of Open Caption subtitles, the screen is divided vertically into 22 virtual rows, the height of each row (in pixels) is calculated as the safe area height / 22.
Note: Wincaps Q4 stores the raising settings as a user preference.
Configure printing
![]() Read about printing preferences here
Read about printing preferences here
Configure speech
Click on the ![]() button to display the Speech Options dialog:
button to display the Speech Options dialog:
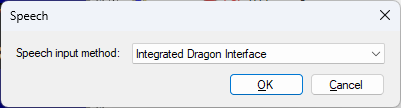
Choose the Speech input method to use from the drop-down list:
-
Keyboard messages to SpeakTitle : Selecting this option will route all speech input through the SpeakTitle window. Select this option if you are using a third-party speech engine other than Dragon Naturally Speaking. You may also use this mode with Dragon if desired, though the integrated mode is normally better in this case.
-
Integrated Dragon Interface : In this mode, Dragon Naturally Speaking is integrated into Wincaps Q4 and the SpeakTitle window is replaced by a control panel that allows you to configure and manage Dragon from within Wincaps Q4. When you run Wincaps Q4 for the first time, it will default to this mode.
-
Speechmatics ASR Interface : If this option is selected, the second ASR source window opens and Q-Live can alternate between ASR input and speech input via Speechmatics.
-
PC Clock
 This was formerly the Timecode Devices button and included the configuration for third party timecode cards which are no longer supported.
Click on  for configuration settings for the PC Clock timecode which is displayed in HH:MM:SS:FF.
The dialog window looks like this:
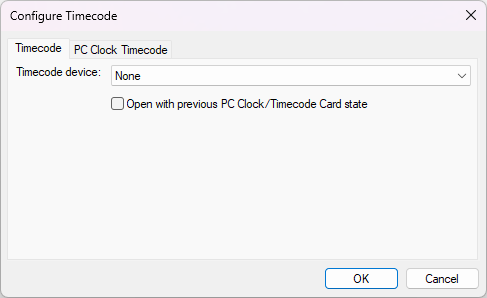
In the Timecode tab, select the PC Clock, which is the PC's internal clock (i.e. time of day) if you require a running timecode source. The default setting for the Timecode Device is None.
In the PC Clock Timecode tab, you can select the desired frame rate for the PC Clock from the drop-down list:
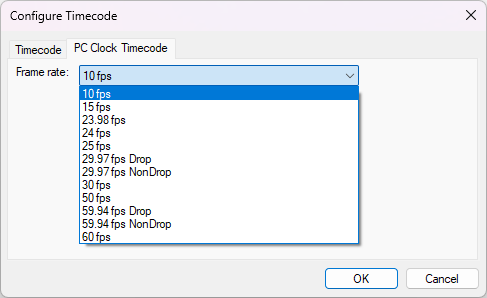
When the frame rate is changed and OK is pressed there is a prompt to confirm the change:
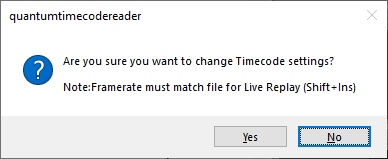
The PC Clock Timecode must always match the frame rate of the file.
System
Click the ![]() button to configure the timecode source. The following dialog is displayed:
button to configure the timecode source. The following dialog is displayed:
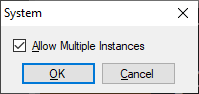
This setting, enabled by default, allows the user to open more than one instance of WQ4 or Q-Live on the same PC.
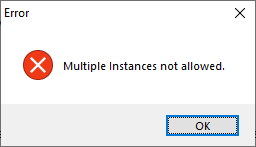
Disabling the option stops more than one instance of WQ4 or Q-Live being opened on the PC. If the option is disabled and a second instance is opened then this error will appear.
NB: If the option is disabled, it is possible to have WQ4 and Q-Live open on the same PC, if there are available licences to do so.
Steno
With 4.46 onwards, click on the  button to open port 4000 for Stenograph system input. The following dialog is displayed:
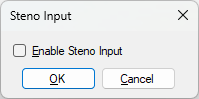
The option is unticked/disabled by default. When the option is changed, Wincaps will need to be restarted and the prompt box will appear:
See also the article on Stenograph input for the Steno status display.